When creating your own 3D presentations, the floating formatting toolbar allows you to quickly select, transform and format objects in various ways. It controls the most common formatting tools, with advanced selection and functionality available in the object list and object property panel.
Toolbar functionality
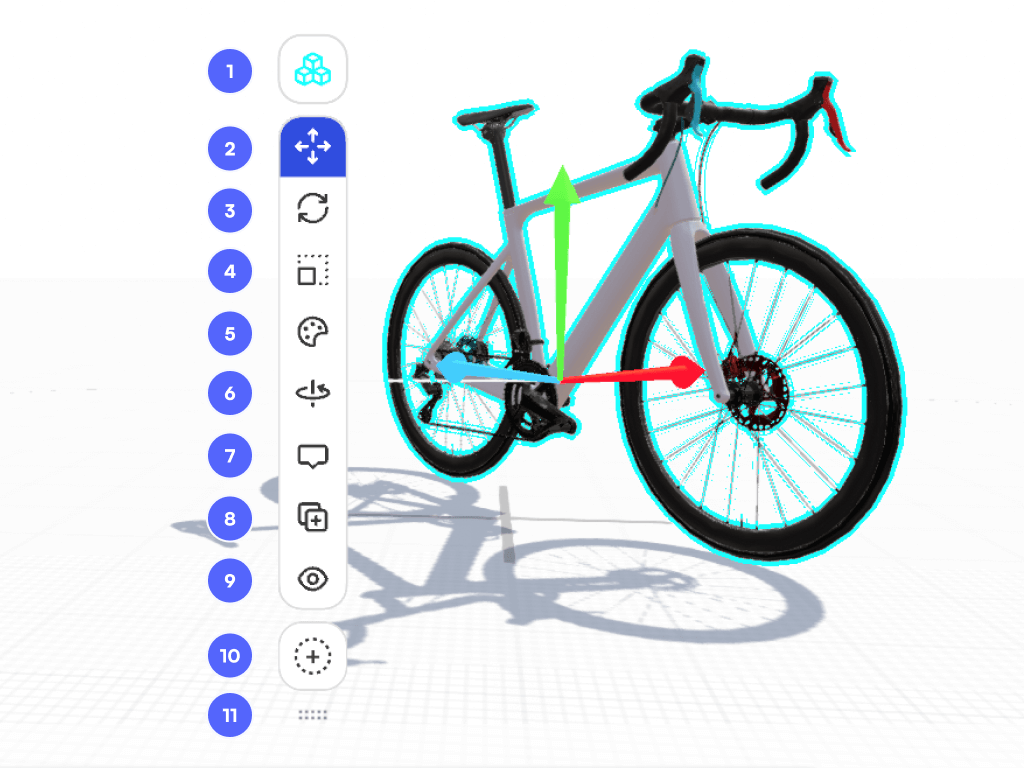
1. Object mode / Sub-object mode
Your object is grouped and will be modified all together in object mode {icon-object-mode.svg} or you can access to the sub-object mode {icon-sub-object-green.svg} by clicking on the icon. You can toggle between object mode and sub-object mode with the Tab keyboard shortcut.
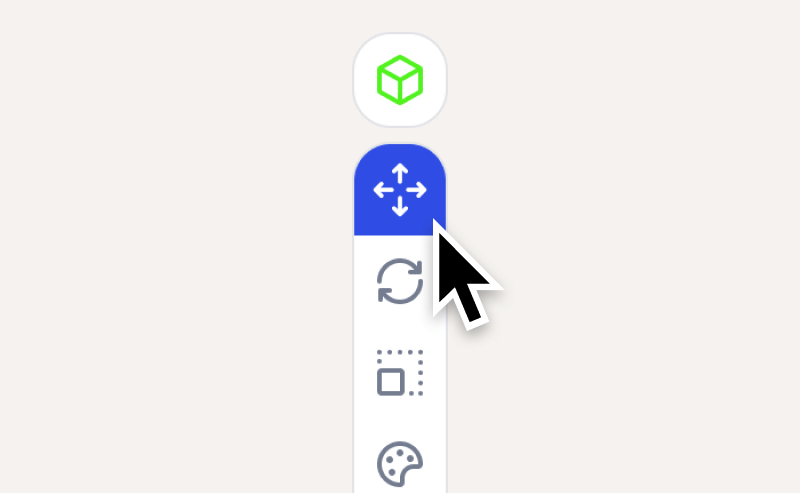
2. Move
The Move tool {icon-move.svg} allows you to move a selected object in the x, y, z axis. You can move objects by clicking and dragging them, or by using the object property panel. Learn more.
3. Rotate
The Rotate tool {icon-rotate.svg} allows you to rotate an object across steps, this can be a great way to create a movement in a Jig. You can rotate objects by clicking and dragging, or by inputting an exact degree of roll, pitch, or yaw, of an object axis directly in the object property panel. Learn more.
4. Scale
The Scale tool {icon-scale.svg} enables you to scale an object across steps. You can change the scale of an object while retaining proportions, or stretch an object. Objects can be scaled precisely using the object property panel.
5. Color, materials, and textures
Adding color and materials to your Objects and Sub-Objects from your color tool {icon-colour.svg} makes your 3D models look more realistic. Color can also be used to define and highlight important objects on a particular step as part of your presentation.
6. Spin
Set an object or parts of an object to spin automatically on one or more axis. This is ideal for motorized parts like fans, wheels, gears and more.
7. Label
Add text labels to your objects, which can be set to always display, or only display when interacted with.
8. Duplicate
Make a copy of the object you have selected by clicking the duplicate button {icon-duplicate.svg}. Duplicating an object is always a great way to experiment with different size, rotation, materials, and colors without modifying the original object.
9. Hide/Show
Control the visibility of objects on each step with the {icon-eye.svg} hide button. When hidden, objects will display the icon with a cross through it {icon-eye-hidden.svg}. Hidden objects cannot be selected viewport, so to un-hide a hidden object you need to select it in the object list, or on another step where it is visible, then navigate back to your step where you want to show it again.
10. Extra selection menu
Click this button to display more options, as detailed below.
11. Pin or float toggle
When using JigSpace on Windows or Mac, you can choose to fix (or pin) the toolbar to the side of your screen to give you a clearer view of your 3D models when you are transforming or formatting them. Use the Shift+P shortcut to toggle between floating or fixed toolbar.
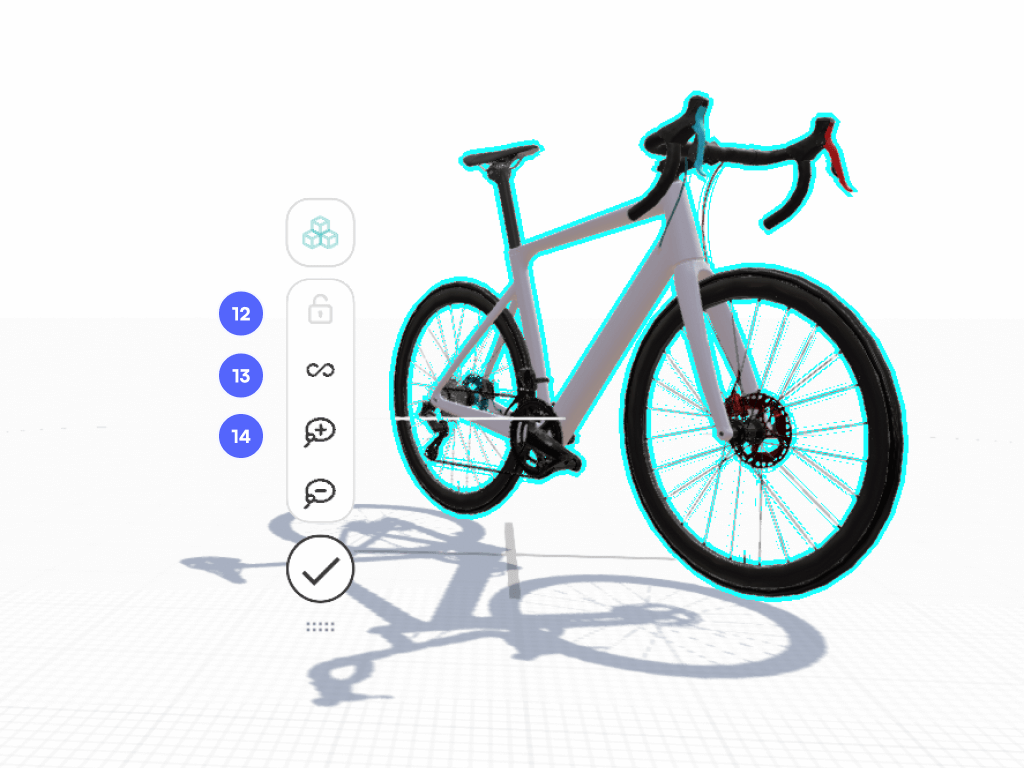
12. Lock custom group of selected objects
While editing, temporarily group all your selected objects in a group to make formatting and tranforming them quicker. This is not saved to your Jig, so to make permanent custom groups of objects use the object list.
13. Select all objects
Select all objects in your Jig, hidden or shown. This is a great way to move everything in one click, or find hidden items out of view. You can select all, then un-select one object at time by holding SHIFT + clicking on objects.
13. Lasso selection
Drag your cursor around a group of objects to select them. Use the negative lasso to unselect any objects in the selection.